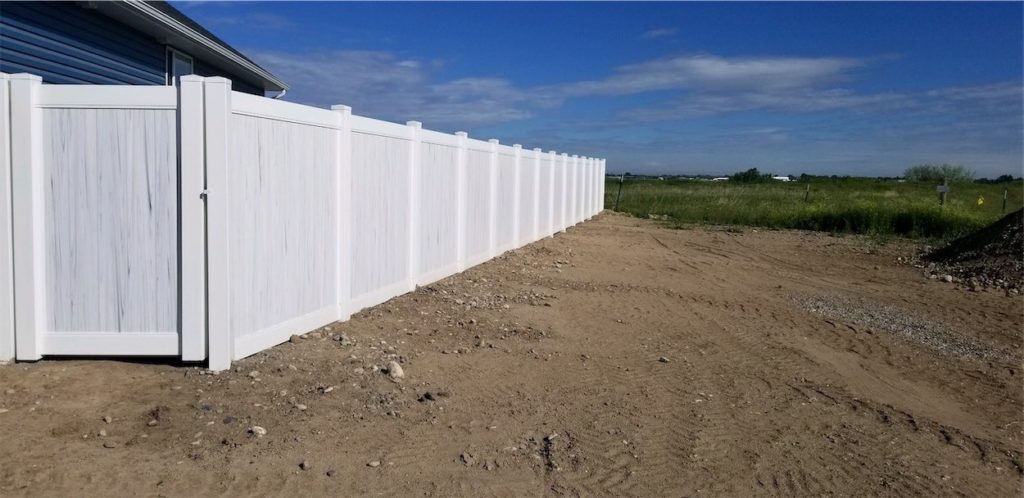
When installed properly, a vinyl fence looks great. To make this happen, you’ve got to be sure the posts are plumb and set in a straight line. If you can manage that, you should be set for life. Vinyl fences last for a very long time and require just about no maintenance. Here’s a few more tips to help you plan and install a vinyl fence. But, keep in mind that this is fairly general information. Each property and fence will be unique. This is why we recommend choosing ProTech Fence, your vinyl fence suppliers in Idaho Falls, to do the job for you.
Tools And Materials Needed
Here are the tools and materials that you will need to complete this project:
Circular saw
Clamps
Drill
Framing square
Hammer
Jigsaw
Level
Miter saw
Posthole digger
Safety glasses
Spade
Tape measure
Wheelbarrow
Concrete
Gate hardware
Mason’s string
PVC cement
Vinyl fence
Have A Gameplan
Before actually getting started, you should have your project planned out. This includes obtaining the proper permits and knowing the local rules and regulations you will have to follow. For example, there will be height restrictions and these can vary depending on several factors. Talk to your neighbors if necessary. Do everything the right way and you’ll be sure that you don’t have to go back and redo your project later on. As your vinyl fence suppliers in Idaho Falls, we can help you make sure everything is done properly. And as with any project that involves digging, you need to call 811. This will notify the proper personnel that underground utilities need to be marked.
Start At The End (And Corners)
Vinyl fence suppliers in Idaho Falls recommend that you place the end and corner posts first — no matter what type of fence you are putting in. Then you will fill in the posts between them. You’ll begin by planting the stakes beyond the end or corner and string a line between them that is even with the outside of the post locations. Next, dig the holes and set your end posts. Don’t worry about getting them to the exact depth yet. That comes later, so, for now, you can err on the high side. (If you end up needing to raise post, add some soil and make sure it is well-packed before the final setting of the post).
Now make sure that each post is flush and still as you fill around it with concrete. We recommend having someone help with this part. Fill the holes with concrete to about 4 inches below ground level. Fill the rest with soil on top of the concrete.
Keep Them In Line
To set the line posts, tie your string to the end posts — flush with the outside edges. Use a tape measure to mark the string so you get the right spacing for the line posts. Mark the holes with a steak. Now, dig the holes and set the posts. It is best to limit yourself to a few posts at a time. Don’t do more than six at once. Then you can repeat the process with the next set of posts.
Place a post in the hole and space it exactly using the mark you have placed on the string. Get someone to help you hold the post plumb while filling around the post with your concrete. Don’t forget to check on the posts you have already finished. If necessary you should be able to adjust them for a few minutes after the concrete has been added.
Adjust The Height
Next, you should lock-in the height of your line posts. This needs to be done about 1.5-2 hours after setting the line posts. You can use a string to do this. Stretch it between the end posts and make it taut. Sight it from either end to see if it sags. If you see it sagging more than about a half inch you can attach it to one of the posts near the center. Drive your posts down until they are all even with the line.
Cutting The Sections
Chances are you will have to cut at least one section of your vinyl fence because of a gate or property line. Cut the rails with a circular saw. Give yourself two inches on each end to go into the posts. Use a screw to secure the rail. Contact your vinyl fence suppliers in Idaho Falls if you need assistance.
Panel Assembly
The concrete needs to set for at least 4 hours before you begin this phase. Be sure you carefully follow the manufacturer’s directions when you do this. You can use a small amount of PVC cement inside the caps on the tabs that rest on the top edge of the post. Then you can mount the gates and hardware using the instructions from the manufacturer.
ProTech Fence: Your Vinyl Fence Suppliers In Idaho Falls
At Protech Fence, we use nothing but the best products that have proven to the top of the line for quality. We are an authorized independent distributor of Country Estates vinyl fencing Idaho Falls. Country Estates vinyl is the only material that has a 50-year non-rated warranty in Idaho and we’ve been using it since day one. Through the years, our customers have seen the strength and endurance of our vinyl fencing in the Idaho Falls area. Give us a call to set up a quick and FREE estimate. We’d love to complete this project for you!


